
You had to go through other platforms to remove the image backgrounds and then re-edit in PowerPoint. Ugh, I've been there too, and it was such a hassle. Luckily, I found out about WPS Office with an AI background remover included. It is so straightforward, time-saving, and makes editing a great deal easier in that sense. Allow me to show you exactly how it works for your easy enhancement of presentations.
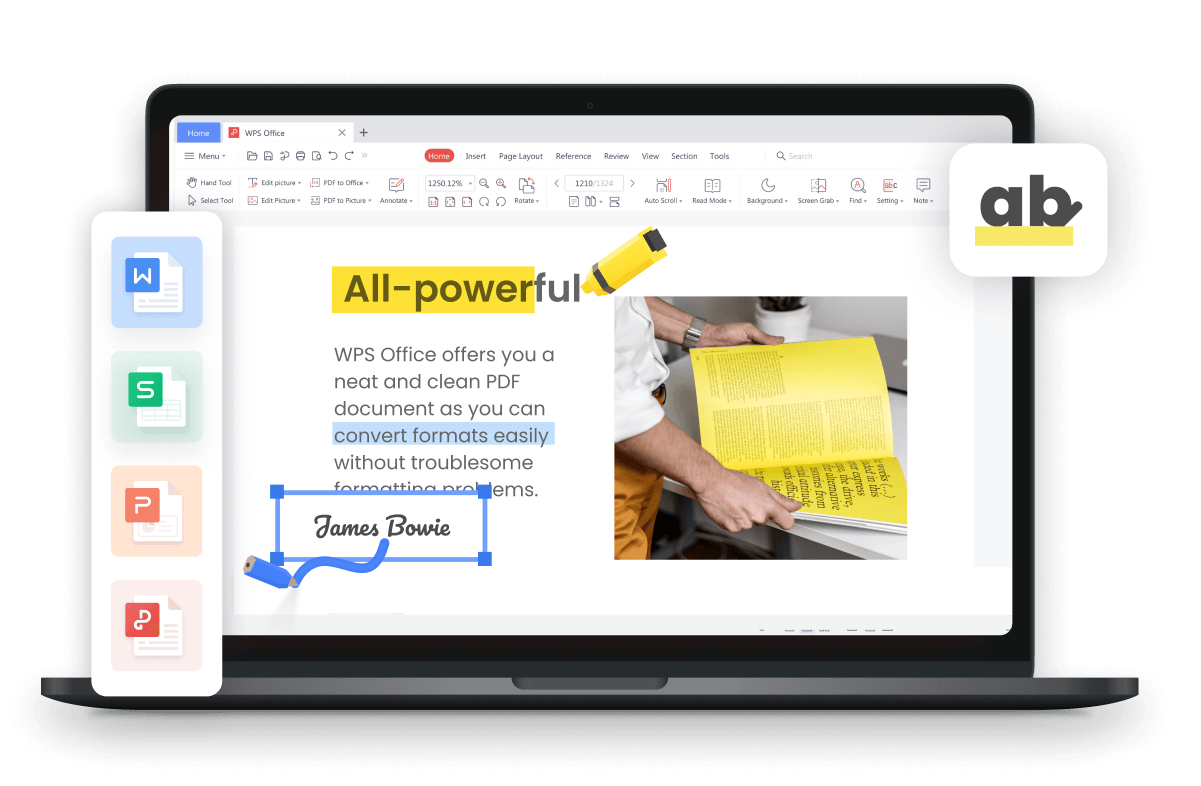
Introduction to WPS Photos Tools
When it comes to image editing, say, directly in your presentations, WPS Photos has all the AI-powered tools put together in order to facilitate this task extremely efficiently. Of these, the AI Background Remover is one major standout that natively integrates with WPS Office to create a seamless workflow.
WPS Photos is an advanced image editing tool that manages to enhance your visual content most easily. In addition, it includes such advanced capabilities as:
Background Removal: this feature makes it possible to remove the background within several seconds with extreme accuracy. By choosing a particular object from among the rest, you will create better focus on your main subject.
AI Eraser: for precision removal of unwanted elements, this feature lets you edit images with easy action.
AI Background Blur: adds a professional touch with the background blurred, while the main subject gets put upfront.
Image Quality Enhancer: It automatically enhances image quality to much better clarity.
Upscaler: upscales images, guaranteeing no loss of quality to achieve that professional look.
Auto Straighten: Tilt your photo, and it will fix it to perfectly straight.
Remove Watermark: You can remove watermarks from the photos for a clean look without much effort.
B&W Photo Colorizer: It converts black and white photos into fantastic-colored ones.
AI Handwriting Remover: It removes handwriting or text from images, useful for clean editing.
Benefits of WPS Photos
1. Advanced AI: WPS Photos deploys advanced AI technology to provide an efficient and precise approach toward image editing. The AI algorithms are designed so that complex tasks, such as background elimination and enhancement, will be done without many hassles from your side.
2. Beginner-friendly: WPS Photos, despite having advanced features, is friendly towards the use of beginners. It has an intuitive interface and user-friendly tools so that users at all levels can use it, from complete beginners right through to experts.
3. One-step office: It simply means you can edit images within the WPS Office application. The fact that it's integrated into WPS Office means you'll do your image editing directly within and won't have to quit the application. This, in turn, saves precious time since it works seamlessly.
4. Attractive Price: WPS Photos is an excellent option with premium functionality at very budget-friendly prices. It is highly cost-effective and does a great job compared to other image editing options available.
5. Amazing Results: Advanced AI combined with user-friendly features will guarantee the best results in no time. This means that your images will be professionally set and polished, adding quality to your overall presentations.
Download WPS Photos now and stop the wait to benefit from these powerful tools within WPS Office. Be ready for taking your image editing to another level and PowerPoint presentation simplification!
How to Remove Background from Images Using WPS AI in Powerpoint
With WPS Photos fully integrated into PowerPoint, removing backgrounds from images within the application has become much easier. Here is how you can do it to enhance your business presentation with a clean, professional look.
Step 1: Insert Image in PowerPoint
1. Open Your Presentation: Begin with opening that PowerPoint presentation where you want the image to be inserted.
2. Insert Image: Go to the slide in which you want the image to appear. Click the "Insert" tab in the top menu, then select "Pictures." Choose "This Device" if your image is saved locally on your computer.
3. Select Your Image: Browse through your files and select the image you want to use. Click "Insert," and the image will appear on your slide.
Step 2: Editing with WPS Photos
1. Open Image in WPS Photos: Right-click on the selected image and click "Edit with WPS Photos" in the context menu that appears. This will open the image directly in WPS Photos for editing.
2. Access Editing Tools: Open WPS Photos and look for AI Background Remover. Normally, this option can be found in the editing menu option labeled "AI Tools" or "Background Removal."
Step 3: Remove Background
1. AI Background Remover: It automatically removes the background by the click of a button on the AI Background Remover tool, which auto-detects the background of an image. The AI does the processing in just a fraction of a second, knocking the subject out from the background.
2. Refine Edges: Refine, if needed, the edges of an object for which the background has been removed. In cases where partial visibility of the background is present, or more definition of the subject is required, selected areas can be manually adjusted with the given brush tools.
3. Change Background: You can insert a new background or keep it transparent if that is what you want. For this purpose, the editing suite in WPS Photos enables you to edit and save your image.
Step 4: Save the Image
1. Save Your Edited Image: Click on the "Save" option in WPS Photos once you get the desired outcome. It automatically updates your edited image in the PowerPoint presentation without you having to insert it again.
2. Shift and Scale to Fit: Back in PowerPoint, you can adjust the size and position of that edited image to your liking. How nice! The fact that the image is updated right in your presentation makes it an easy and seamless process.
That way, it won't be a waste of too much time using WPS Photos to remove backgrounds directly in PowerPoint and make the work process smooth. The usage is very intuitive, and the results are impressive to make your presentations look polished and professional. Enjoy the ease of powerful image editing tools at your fingertips and make your presentation noticed with crisp, clear visuals.
Bonus Tips: AI Enhancer in WPS Photos
WPS Photos has recently revamped itself with a suite of new AI features that upgrade your photo editing experience. Among them, the AI Image Quality Enhancer offers unparalleled power in increasing image resolution and enhancing overall quality. This feature is really helpful for images inserted in Word, Excel, or even PowerPoint; these sometimes come out hazy-looking or pixelated. Now, let's get deep into how to use this feature to give your photos the best look.
AI Image Quality Enhancer
What it does: It automatically enhances the resolution and clarity of the images with its artificial intelligence, letting it appear sharper and more detailed. This proves particularly helpful in images that have undergone resizing or compression, as it fills up the lost details, refining the visual quality.
Step-by-Step Process
Step 1. Open Your Image in WPS Photos
Choose Your Image: You open WPS Photos and open the image that you want to enhance. This can be done by right-clicking on the image and choosing "Edit with WPS Photos" from the right-click menu.
Access AI Enhancer: With the image open, go to the menu for AI tools and choose "Image Quality Enhancer."
Step 2. Applying the AI Enhancer
Automatic Enhancement: It automatically analyses your image through the AI Enhancer and makes enhancements. You will notice a difference in sharpness and clarity by how it enhances the details.
Before and After Comparison: You are always free to compare the original image with an enhanced version, noticing the difference. The AI enhancer does subtle yet real adjustments, serving to improve the quality of your photograph.
Step 3. Save the Enhanced Image
Save Changes: Click "Save" once you have completed the enhancement. The updated image will automatically save to your presentation or document, so you do not have to insert it all over again.
View in Presentation: You go back and see your enhanced image right in PowerPoint, Word, or Excel. It would be a higher-resolution image, with clearer details. If you have rescaled it, that's okay-it would still look professional and clear.
The AI Image Quality Enhancer in WPS Photos makes a huge difference for users who want to ensure their images are of the highest quality in presentations or documents. The capabilities of restoring and enhancing image quality make this enhancement tool indispensable for visualization of polished and professional appearance.
Download WPS Photos today and start using the AI-powered image enhancer, among other powerful features, for free. Take your photo editing process to the next level with WPS Photos. Download here: Download WPS Photos.
FAQs:
Is the AI background remover free in PowerPoint?
It depends on the version of PowerPoint you are using. Some advanced AI features may require a subscription. In WPS Office, the AI background remover is free.
Do I need an internet connection to use the AI background remover in PowerPoint?
No, most background removal features available in PowerPoint do not require an internet connection as it works offline.
Summary
WPS AI makes removing backgrounds directly in PowerPoint easier than one can imagine. Equipped with advanced AI, beginner-friendly tools, and a seamless workflow, WPS Office easily enables users at all levels to edit images right from within PowerPoint. Be it enhancing a business presentation or creating more polished visual content; whatever one wants, the WPS AI background remover will deliver professional results in no time. Ready to revolutionize your presentations? Try downloading WPS Office now and start editing with the help of WPS Photos!


