
Capturing your screen shouldn’t feel like rocket science. Yet, many Chromebook users find themselves fumbling with unknown shortcuts, mysterious menus, or wondering where that screenshot even saved. Whether you're trying to capture a tutorial step, save an image for reference, knowing how to use ChromeOS's built-in tools makes all the difference. In this guide, I’ll walk you through every method for taking screenshots and recording your screen on a Chromebook, along with tips to manage, edit, and share your captures seamlessly.
Part 1: How to Take Screenshots on Chromebook
Whether you're saving a full webpage or just a cropped portion of your screen, Chromebook gives you two easy ways to take a screenshot. Here’s how you can do both full-screen and partial-screen captures.
A. Full-Screen Screenshot
1. Keyboard Shortcut Method:
Step 1: Press Ctrl + Show Windows (the key that looks like a rectangle with two lines).
Step 2: You’ll see a brief flash, this means your screenshot was taken.
Step 3: Find your screenshot in the Downloads folder or access it instantly via the bottom-right corner notification.
This is the fastest way. I use it when I need to quickly save something on the screen, like during a Zoom call or class.
2. Screen Menu Method:
Step 1: Click the time in the bottom-right corner of your screen to open the system menu.
Step 2: Click on Screen Capture (camera icon).
Step 3: Choose the camera icon, then select the full-screen option.
Step 4: Click anywhere on the screen to capture the entire display.
I prefer this method when I don’t feel like memorizing shortcuts or want more control plus, it’s a good fallback if your Chromebook keyboard layout is different.
B. Partial-Screen Screenshot
1. Keyboard Shortcut Method:
Step 1: Press Shift + Ctrl + Show Windows.
Step 2: Choose the dashed-box icon for partial screenshot.
Step 3: Click and drag your cursor to highlight the area you want to capture.
Step 4: Release to take the screenshot. It’ll save automatically.
This is my go-to when I want to avoid capturing unnecessary parts of the screen. It’s perfect for grabbing a section of a chart or a specific paragraph without cropping later.
2. Menu and Adjustment Method:
Step 1: Open the Screen Capture Tool by clicking the time at the bottom-right.
Step 2: Select the Partial Screenshot option.
Step 3: Adjust your selection using the blue border box.
Step 4: Click Capture.
The blue box makes this a very visual method. It’s ideal when you want precision- like when you're prepping images for presentations or step-by-step tutorials.
Part 2: How to Record Your Screen
Screen recording is perfect for tutorials, presentations, or saving a walkthrough to share later. Chromebook makes it simple, and you can even include your voice or face in the recording.
A. Initiating Screen Recording
Keyboard Shortcut to Start:
Step 1: Press Shift + Ctrl + Show Windows to open the screen capture toolbar.
Step 2: Click the video camera icon to switch from screenshot to screen recording mode.
Step 3: Choose the type of recording:
Full screen: records everything on your screen
Window: records one open window
Partial screen: lets you select a specific area
I usually pick the window or partial screen option as it keeps the recording clean and focused. The full-screen one is great for demos or long sessions.
B. Recording Settings
1. Camera and Audio Options:
Step 1: After choosing your recording type, click the settings icon (gear) on the toolbar.
Step 2: Toggle microphone on/off depending on whether you want to include your voice.
Step 3: You can also turn on your camera to include a small video of yourself in the corner.
If I’m explaining something, I always turn the mic on. And if it’s for a class or a video tutorial, I add the webcam to make it more personal.
2. Displaying Key Actions:
Some Chromebooks show mouse clicks (with little circles) during the recording.
Tip: If this isn’t showing up automatically, check your Chromebook’s accessibility settings for cursor highlighting.
This little touch makes it easier for others to follow what you’re doing. Super helpful in tutorials!
C. Stopping the Recording
Step 1: When you're done, click the Stop Recording (⏹️) button in the bottom-right toolbar (it appears once you start recording).
Step 2: Your recording is saved automatically in Downloads.
The stop button is easy to find. I like that you don’t need to save anything manually, ChromeOS takes care of it.
Part 3: How to Manage Screenshots and Recordings
Now that you’ve taken a screenshot or recorded your screen, what’s next? Let’s go over where to find them, how to organize them, and how to quickly edit or share your files.
A. Default File Location
By default, all screenshots and screen recordings are saved in the Downloads folder.
Steps:
1. Open the Files app from your launcher.
2. Click on Downloads from the sidebar.
3. Your screenshots and recordings will be listed by the date and time.
I check here first whenever I take a screenshot. It’s super convenient, but if you’re doing lots of captures, things can get messy fast.
B. Changing the Save Folder
You can set a custom folder for your screenshots and recordings if you want to keep things organized.
Steps:
Click on the time at the bottom-right corner of your screen.
Select the Settings (⚙️) icon.
Scroll down and click Advanced > Downloads.
Choose a new folder under Location.
I like creating a folder called “Screenshots” inside Google Drive. That way, everything’s backed up and I can access it on my phone too.
C. Editing and Sharing
Once you open a screenshot or recording, you can:
Edit: Use the built-in image editor to crop, draw, or highlight.
Share: Right-click the file and select Share with or upload directly to Drive, Gmail, or other apps.
The built-in editor is great for quick tweaks like highlighting or trimming. For more detailed editing, I recommend using WPS Office or a dedicated tool (which I’ll cover next!).
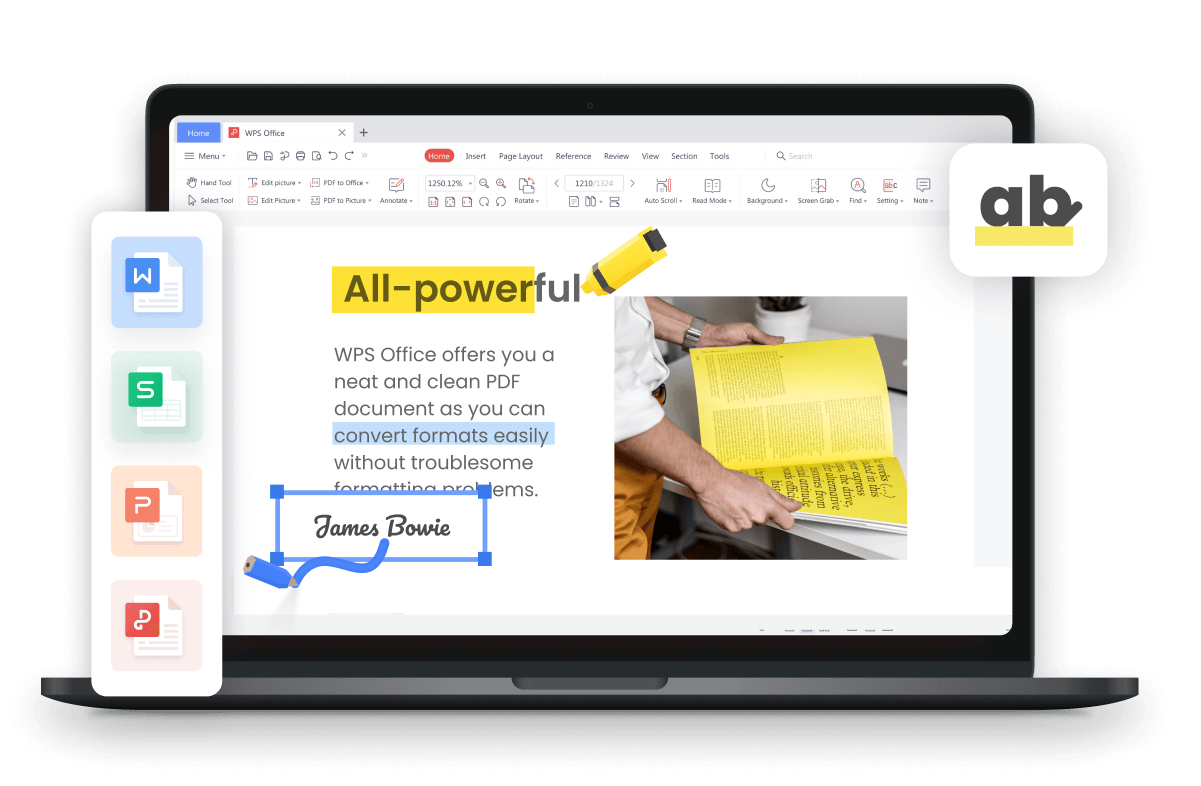
Part 4: Best Office Suite Integrated with Photo Editor – WPS Office
If you’re regularly editing screenshots or screen recordings for work, study, or content creation, you’ll want a tool that goes beyond just capturing and managing files. That’s where WPS Office comes in.
Why WPS Office?
WPS Office isn’t just a document editor. It’s an all-in-one productivity suite with built-in tools to edit images, annotate documents, and even use AI-powered features.
With WPS Photos, you can:
Crop, rotate, and enhance screenshots instantly
Add text, arrows, and shapes to highlight key areas
Use AI Photo Editor features for automatic improvements
Convert screenshots into PDF or Word documents for sharing
I’ve used WPS Photos to quickly clean up my screenshots before adding them into reports and tutorials. The editing tools are simple but powerful. And since it’s part of the WPS Office suite, I don’t have to open five different apps as everything is in one place.
Bonus: You can also open and edit your screenshots directly in WPS Writer or WPS Presentation if you’re building slides or writing guides.
Frequently Asked Questions (FAQs)
1. Why isn’t my screenshot saving?
If your Chromebook isn’t saving screenshots, check your storage first—your Downloads folder might be full. Also, make sure you’re not in Guest Mode, as it won’t save files after you log out.
Fix Tips:
Free up space in the Downloads folder.
Switch to your main user profile.
Restart your Chromebook and try again.
It happened to me once when I had too many old files sitting in Downloads. Deleting a few big videos fixed the problem right away.
2. What is the F5 key on a Chromebook?
Unlike regular keyboards, Chromebooks don’t label their function keys (F1–F12). The F5 key is actually the Show Windows key (the rectangle with two lines above it).
It’s used for switching windows, and in our case, taking screenshots (Ctrl + Show Windows).
It’s a bit confusing at first, especially if you’re used to Windows or Mac. Once you know the icon, it becomes second nature.
Summary
Taking screenshots and recording your screen on a Chromebook is easy once you know where to look and which shortcuts to use. Whether you're using it for school projects, tech tutorials, or remote work, these built-in tools can save you time and effort. From full-screen captures to partial snips and screen recordings with audio or webcam input, you’ve got everything you need right at your fingertips.
Don’t forget to organize your files, explore editing options, and take your workflow to the next level with tools like WPS Office. With features like WPS Photos, quick annotation tools, and AI editing support, it’s one of the best free productivity suites for Chromebook users.


