Converting an Excel file to a PDF makes it easier for people to open the and view the file on various platforms—even if they don't have Microsoft Office. PDFs are also easier to print and distribute than Excel spreadsheets. If you have Microsoft Excel, you can easily convert your spreadsheet to a PDF by saving or exporting it within the app. If you don't have Excel, you can use Google Sheets, a tool on Google Drive, to make the conversion for free.
Steps to Export Excel to PDF
Step1
Select the part of the Excel spreadsheet you want to convert to PDF (optional). If there's only a certain part of the Excel file that you want to turn into PDF format, select it now. Otherwise, move on to the next step.
Note that PDF conversions cannot be easily reverted back into an Excel sheet, but this method will preserve your original copy.

Step2
Click the File menu. It's at the top-left corner.

Step3
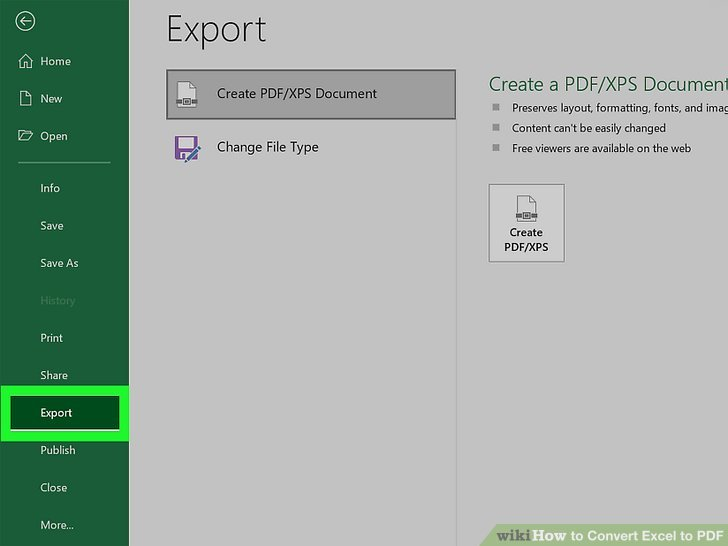
Click Export on the menu. This opens the Export panel.
Step4
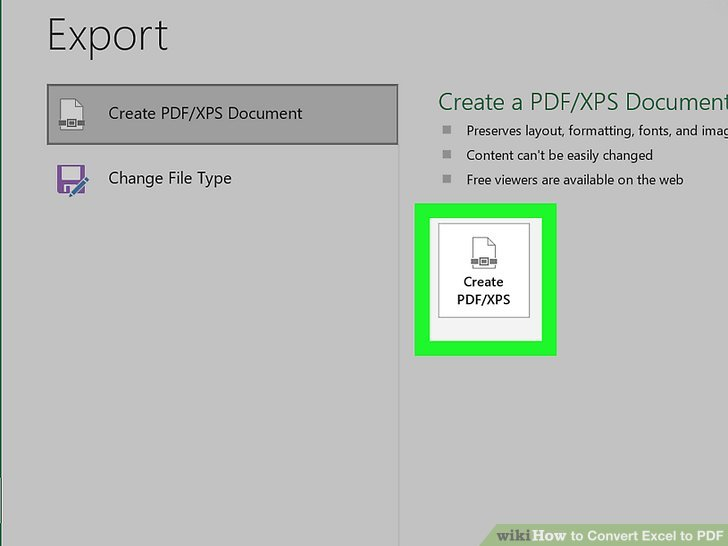
Click Create PDF/XPS. Look for the icon that looks like a sheet of paper wearing a belt.
Step5
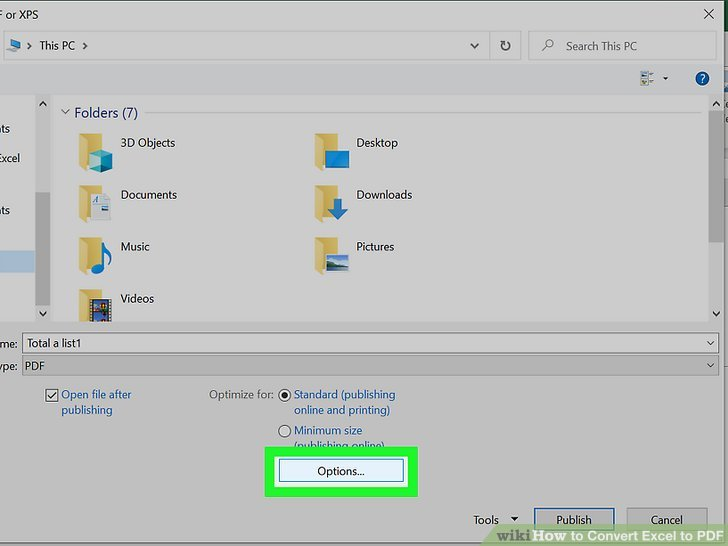
Click the Options… button. This will allow you to adjust the settings for the PDF file you are about to create.
Step6
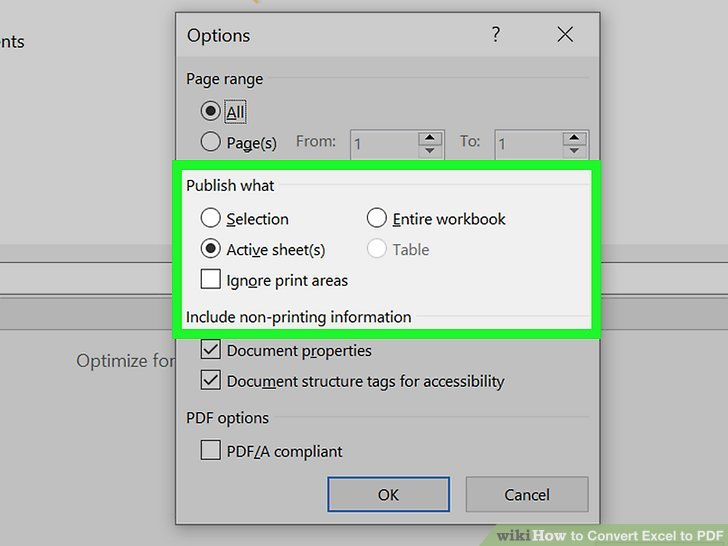
Choose your PDF options and click OK.
If you selected an area of your spreadsheet to save as a PDF, choose Selection under "Publish what." This ensures that only that selected area is saved as a PDF.
If you'd rather save the entire visible worksheet as a PDF, choose Active sheet(s) instead.
If you want to choose specific pages from the workbook to save as a PDF, use the "Page(s)" drop-down menus to define the first and last pages.
Click OK to continue.
Step7
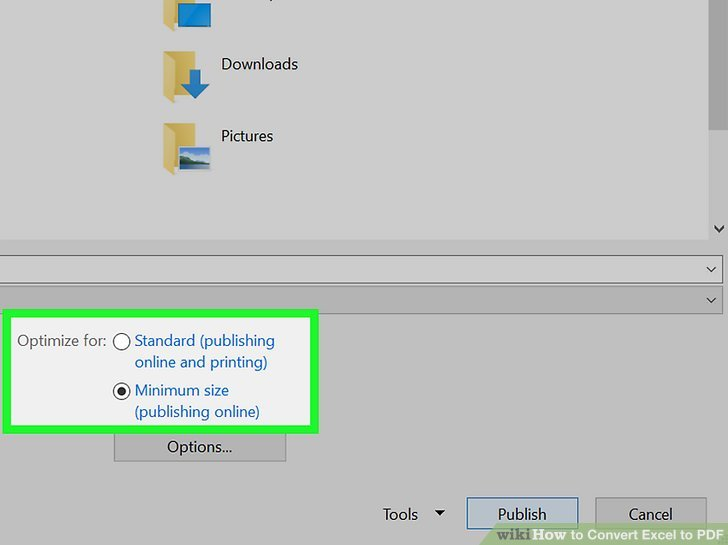
Choose your optimization (optional). Above the "Options" button, you can select how you want to optimize the PDF. Most people can stick with "Standard" unless the spreadsheet is very large. "Minimum size" will reduce the size of a larger file to something more manageable.
If you want to change the location to which you're saving the file, you can navigate to that folder in the window now.
Step8
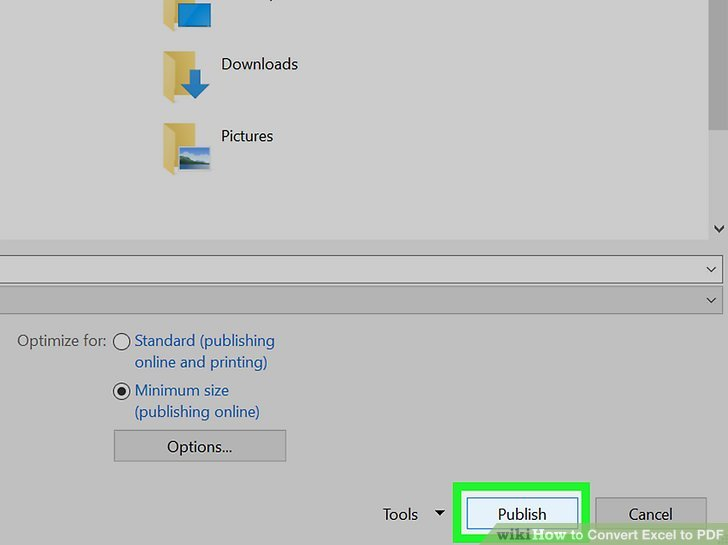
Name the file and click Publish. This exports the selected information to a new PDF file with the name you've entered.
Step9
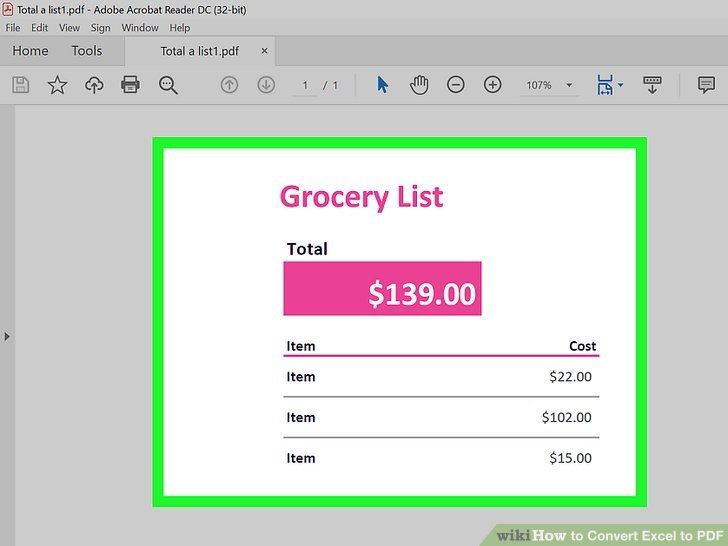
Review the PDF. By default, the PDF file will open automatically for your review. If it doesn't open by automatically, just double-click the name of the file in the folder to which you saved it..
It's not really possible to edit the PDF now, so if you need to make changes you'll want to make them in the Excel document and then create a new PDF.
Conclusion
Converting your Excel files to PDF is a common task. Luckily it’s pretty easy with WPS Office. There is also a Power Automate option for converting Excel to PDF which means you can create automated processes that convert your files to PDF using WPS Office.
How to convert Excel to PDF on Mac? Check here: How to Convert Excel to PDF on Mac


