Cramped and disorganized data sheets can significantly impact the visual appeal and readability of your data presentations. Fortunately, you have the power to resolve this issue by adjusting cell sizes to create more organized and polished sheets. In this article, we'll walk you through the steps on how to make cells bigger in Excel to effectively optimize your data sheet layouts for a more professional and engaging presentation.

How to Make Cells Bigger in Excel on Window
When working with Excel on Windows, it's essential to know how to make cells bigger to present your data effectively. Excel offers users four convenient methods to adjust cell sizes without consuming too much time. Let's explore how to make cells bigger in Excel on Windows.
Method 1: Resizing Excel Cells with the Mouse
This method permits manual cell resizing using your mouse:
Step 1: Hover your mouse over the cell's edges until the cursor becomes a black cross.

Step 2: Click and drag the cell's edge to expand or shrink it to your desired size.

Tip:
To resize multiple rows or columns uniformly, follow these steps:
Step 1: Select the rows or columns you want to adjust by clicking and dragging the mouse.

Step 2: Once selected, use the cursor to adjust the size of one row or column.

Step 3: All selected rows or columns will be resized proportionally, maintaining the same size for each.

Method 2: Using Keyboard Shortcuts
Learn how to expand cells in Excel using keyboard shortcuts:
Step 1: Click the cell you want to resize and press the ALT key on your keyboard. Observe the tab changes at the top of Excel; this guides you on the next keys to press for the shortcut.

Step 2: For resizing rows, press H + O + H. Here's how it works: H opens the Home tab, O visits the Format Cell option in Excel, and H opens the Row Height formatting dialog.
Step 3: Enter the desired height for your row in the Row height dialog box.

Additional Shortcuts to resize rows and columns:
To AutoFit Column Width: ALT + H + O + I
To AutoFit Row Height: ALT + H + O + A
To Manually Adjust Row Height: ALT + H + O + H
To Manually Adjust Column Width: ALT + H + O + W
Keyboard shortcuts provide a speedy way to resize your cells efficiently.
Method 3: Utilizing the Home Tab
The Home tab provides additional options for resizing cells:
Step 1: Navigate to the Home tab in the Excel ribbon.
Step 2: Select "Format" in the Cells group.

Step 3: Choose "AutoFit Row Height" to automatically adjust row height based on the content.
Step 4: Opt for "AutoFit Column Width" to automatically adjust column width based on the content.

Step 5: Use "Row Height" and "Column Width" options to adjust sizes manually.

Method 4: Using Right-Click Options
You can also right-click on the cell and access "Row Height" and "Column Width" options to manually adjust sizes.
Each of these methods offers users the flexibility to adjust cell sizes according to their specific sheet and data requirements. As a writer, I personally favor the keyboard shortcuts because they allow me to stay focused on the keyboard, which can be more efficient. However, for users who rely more on the mouse and don't frequently use the keyboard, the cursor method is user-friendly and intuitive. Excel ensures that users have multiple options to choose from, making the cell resizing process seamless and adaptable to individual preferences and working styles.
How to Make Cells Bigger in Excel on Mac
Method 1: Using Ribbon to resize Excel cells in Mac
In this method, you use the F6 key to navigate the ribbon menu. Here's how you can apply it in Excel on a Mac:
Step 1: Press the F6 key to access Home in the ribbon menu. Press “Space” to expand options in the Home tab.

Step 2: Use the Tab key to cycle through the options until you reach the "Format" menu.

Step 3: Once on "Format", press the Spacebar to open it.
Step 4: Navigate to "AutoFit Column Width" and press Enter to adjust column width. Users can select other options to resize their row or column accordingly.

Method 2: Using the Toolbar to resize cells in Excel in Mac
This method involves using the Control (Ctrl) key and the F2 key to access the toolbar and resize cells in Excel. Here's how to do it:
Step 1: Press Control (Ctrl) + F2 to open the toolbar.

Step 2: Use arrow keys to navigate through the options.
Step 3: In Format option, select “Cells” and press Enter to adjust column width.

Method 3: Apple native shortcuts to resize cells
This approach allows you to create custom keyboard shortcuts specific to resizing cells in Excel in your Mac OS settings:
Step 1: Click on the Apple icon, go to System Preferences.

Step 2: Select Keyboard in System Preferences window.

Step 2: Click on "App Shortcuts" and specify a new shortcut for Excel, e.g., "AutoFit Selection".

Step 3: Set a keyboard shortcut, like Shift + Command + U, and save it.

Step 4: Now, you can use Shift + Command + U to autofit columns in Excel.
Method 4: Mac Excel's Customize Keyboard Settings
This method is specific to Excel's native settings and is particularly useful for those who prefer Excel-specific shortcuts:
Step 1: Open Excel and go to Preferences > Customize Keyboard.

Step 2: In the Categories section, select the Home tab. Search for "AutoFit Selection" In Commands.

Step 3: Create a custom shortcut, such as Shift + Command + A.

Step 4: Apply the shortcut, and now you can use Shift + Command + A to autofit columns.
Comparing these methods, the first three are somewhat complex and require navigating through menus or system preferences. The fourth method, Excel's built-in customization, is the most convenient, allowing you to create an Excel-specific shortcut tailored to your needs. It's important to choose the method that best suits your workflow and preferences when working with Excel on a Mac.
How to Edit Excel, Word, Powerpoint for Free?
WPS Office is a comprehensive office suite that leaves no essential element behind. It features a top-tier word processor, presentation tool, and a robust spreadsheet application, all available for free. What sets it apart is the inclusion of advanced features and integrated AI, elevating your productivity. You can also make the most of its powerful PDF tools for editing and creating PDF documents seamlessly and accessibly.

Let’s take a look at this quick guide to learn how to effectively edit Word files, Excel spreadsheets, and PowerPoint presentations using WPS Office.
Steps to edit Word/Excel/Powerpoint in WPS:
WPS Office can handle various types of documents, such as Word, Excel, and PowerPoint files. You can edit these files in WPS Office with ease and compatibility. Here are the steps to do so:
Edit a Word File:
Step 1: On your computer, find the WPS Office suite and click to open it.
Step 2: From the Side Bar menu, go to “Docs”. Open your Word document by using WPS Writer to find it.

Step 3: There are functionally specific editing tools in different tabs of WPS Writer, you can use them to make your manuscript more impressive.

Edit an Excel File:
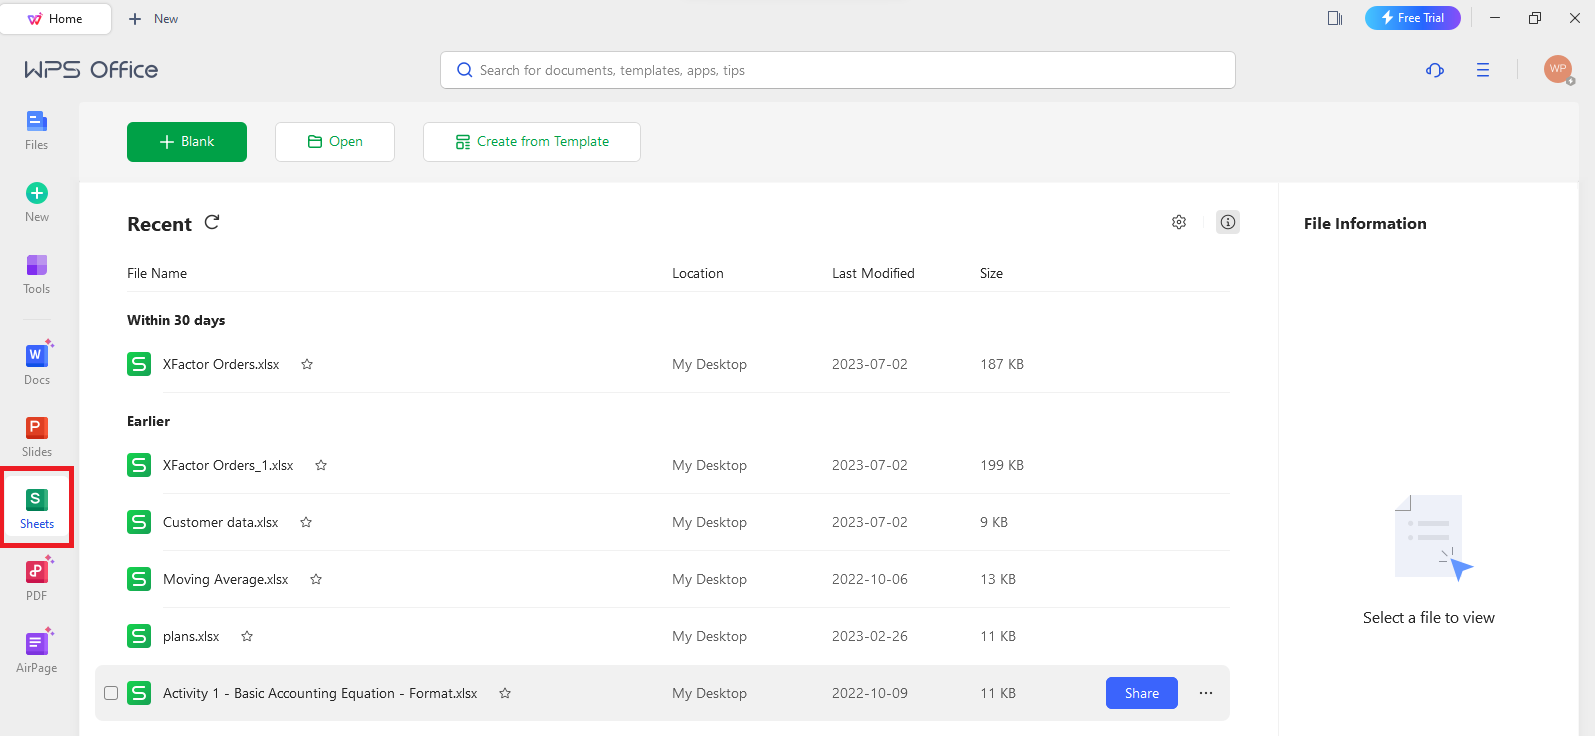
Step 1: From the Side Bar menu, go to “Sheets”. Open your Excel document by using WPS Spreadsheet.

Step 2: You can use the editing tools to improve your Excel document. You will find the tools in different tabs of WPS Spreadsheet.

Edit a PowerPoint Presentation:
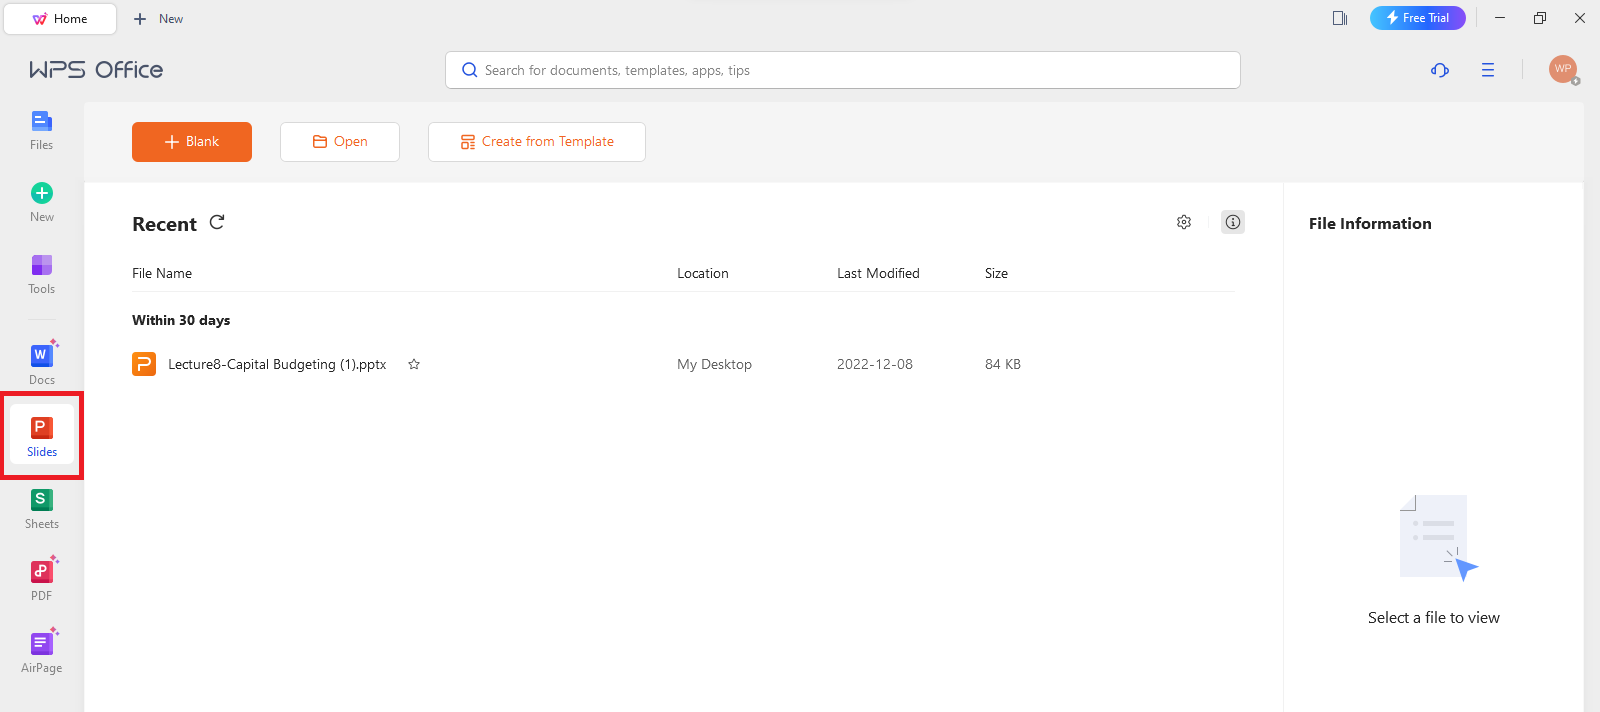
Step 1: From the Side Bar menu, click on “Slides” and open your PowerPoint Presentation using WPS Presentation.

Step 2: There are editing tools given in various tabs of WPS Presentation, use them to improve your Slideshow.

FAQs
Q1. How to automatically adjust text size in Excel?
To auto-adjust the text size in Excel, begin by opening Excel and selecting the cell you want to adjust. You can also choose to select an entire row or the entire document content using (Ctrl) + (A). Next, navigate to the Home tab, click on Format, and then choose AutoFit Row Height.
Q2. How can I increase cell size in Google Sheets?
To enlarge cells in Google Sheets, start by selecting the specific cell or cells you want to resize. Then, go to the "Format" menu located at the top of the screen and select either "Column width" or "Row height" from the dropdown. A dialog box will appear, allowing you to enter your desired width or height. Once satisfied, simply click the "OK" button.
Elevating Your Data with Resized Brilliance
This article delves into the art of improving your data presentation by exploring how to make cells bigger in Excel for a more appealing look. While we've provided guidance on the 'how,' the 'where' is entirely up to you, allowing you to enhance the visual impact of your data. If you seek a spreadsheet option known for its simplicity and user-friendliness, consider downloading WPS Office today—no steep learning curve required.


